项目地址
Axin-SpringCloud
如果帮助到了您,动动小手,帮忙给个star。
步骤说明
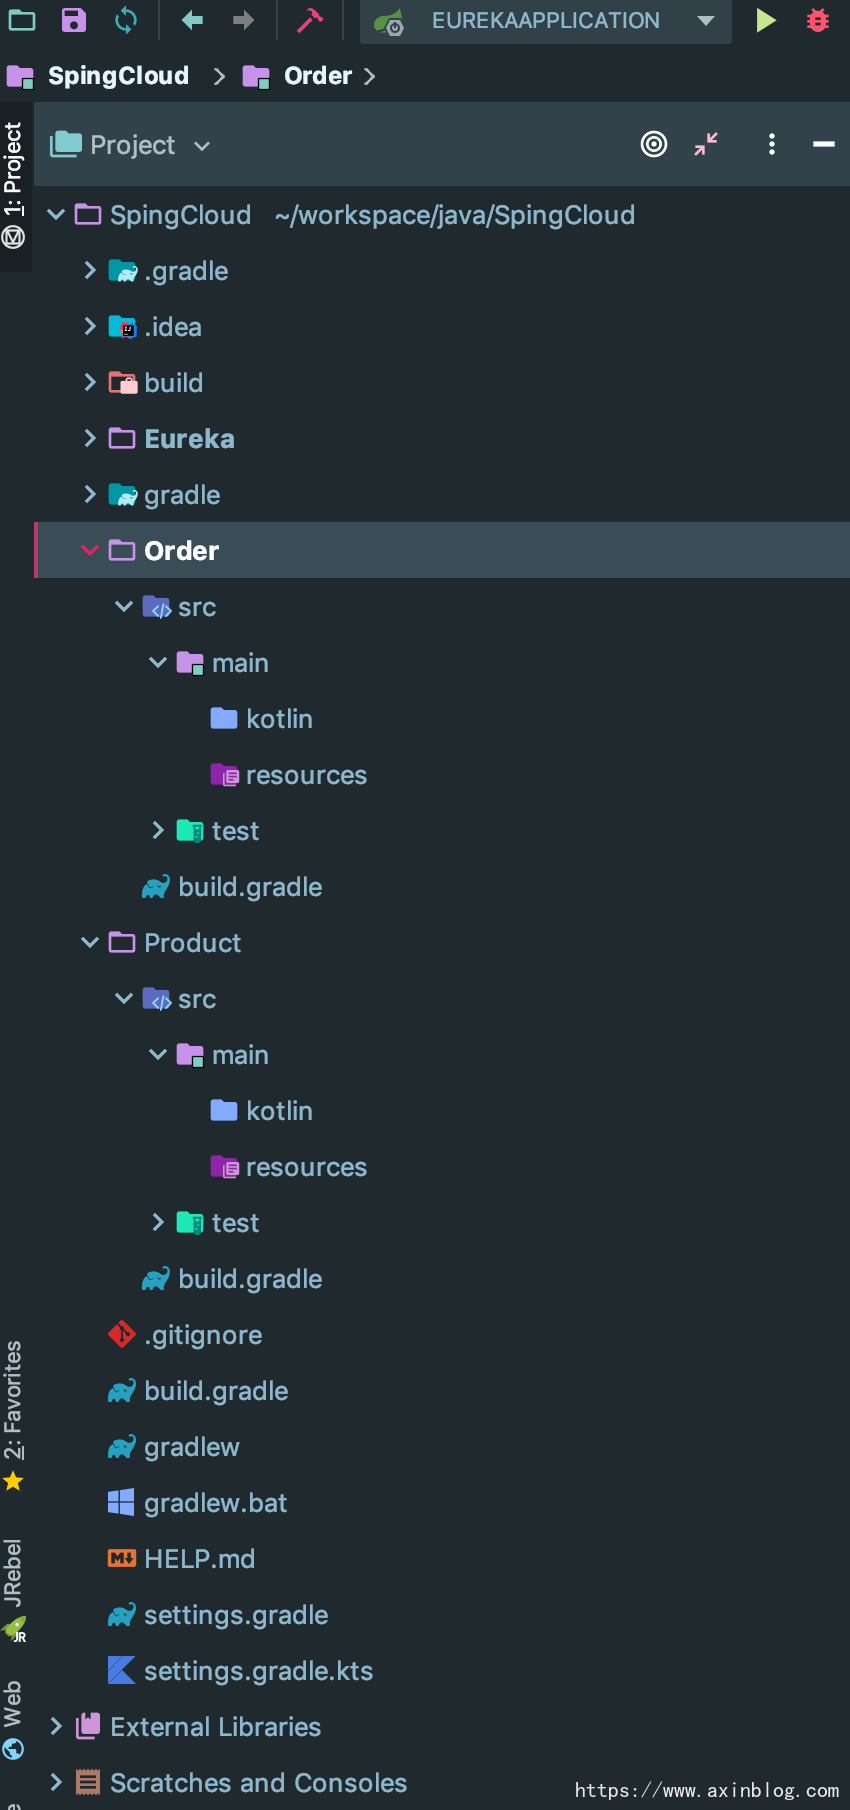
创建微服务Product和Order
根据 基于Kotlin的SpringCloud的快速构建(二)
新模块的创建,创建两个微服务Product与Order,创建好后的目录如下
Product 启动类,build.gradle,yml配置
启动类
package com.axinblog.product

import org.springframework.boot.autoconfigure.SpringBootApplication
import org.springframework.boot.runApplication
import org.springframework.cloud.netflix.eureka.EnableEurekaClient

@SpringBootApplication
@EnableEurekaClient
class ProductApplication

fun main(args: Array<String>) {
    runApplication<ProductApplication>(*args)
}
|
build.gradle
dependencies {
    // eureka-client
    implementation('org.springframework.cloud:spring-cloud-starter-netflix-eureka-client')
    // feign
    implementation('org.springframework.cloud:spring-cloud-starter-openfeign')
}
|
application-dev.yml
server:
  port: 8082
spring:
  profiles:
    active: dev
  application:
    # 服务名称 - 服务之间使用名称进行通讯
    name: product
eureka:
  client:
    service-url:
      # 填写注册中心服务器地址
      defaultZone: http://127.0.0.1:8081/eureka
    # 是否需要将自己注册到注册中心
    register-with-eureka: true
    # 是否需要搜索服务信息
    fetch-registry: true
  instance:
    nonSecurePort: ${server.port}
    # 使用ip地址注册到注册中心
    prefer-ip-address: true
    # 注册中心列表中显示的状态参数
    instance-id: ${spring.cloud.client.ip-address}:${server.port}
|
Order 启动类,build.gradle,yml配置
启动类
package com.axinblog.order

import org.springframework.boot.autoconfigure.SpringBootApplication
import org.springframework.boot.runApplication
import org.springframework.cloud.netflix.eureka.EnableEurekaClient

@SpringBootApplication
@EnableEurekaClient
class OrderApplication

fun main(args: Array<String>) {
    runApplication<OrderApplication>(*args)
}
|
build.gradle
dependencies {
    // eureka-client
    implementation('org.springframework.cloud:spring-cloud-starter-netflix-eureka-client')
    // feign
    implementation('org.springframework.cloud:spring-cloud-starter-openfeign')
}
|
application-dev.yml
server:
  port: 8083
spring:
  profiles:
    active: dev
  application:
    # 服务名称 - 服务之间使用名称进行通讯
    name: order
eureka:
  client:
    service-url:
      # 填写注册中心服务器地址
      defaultZone: http://127.0.0.1:8081/eureka
    # 是否需要将自己注册到注册中心
    register-with-eureka: true
    # 是否需要搜索服务信息
    fetch-registry: true
  instance:
    nonSecurePort: ${server.port}
    # 使用ip地址注册到注册中心
    prefer-ip-address: true
    # 注册中心列表中显示的状态参数
    instance-id: ${spring.cloud.client.ip-address}:${server.port}
|
注意事项
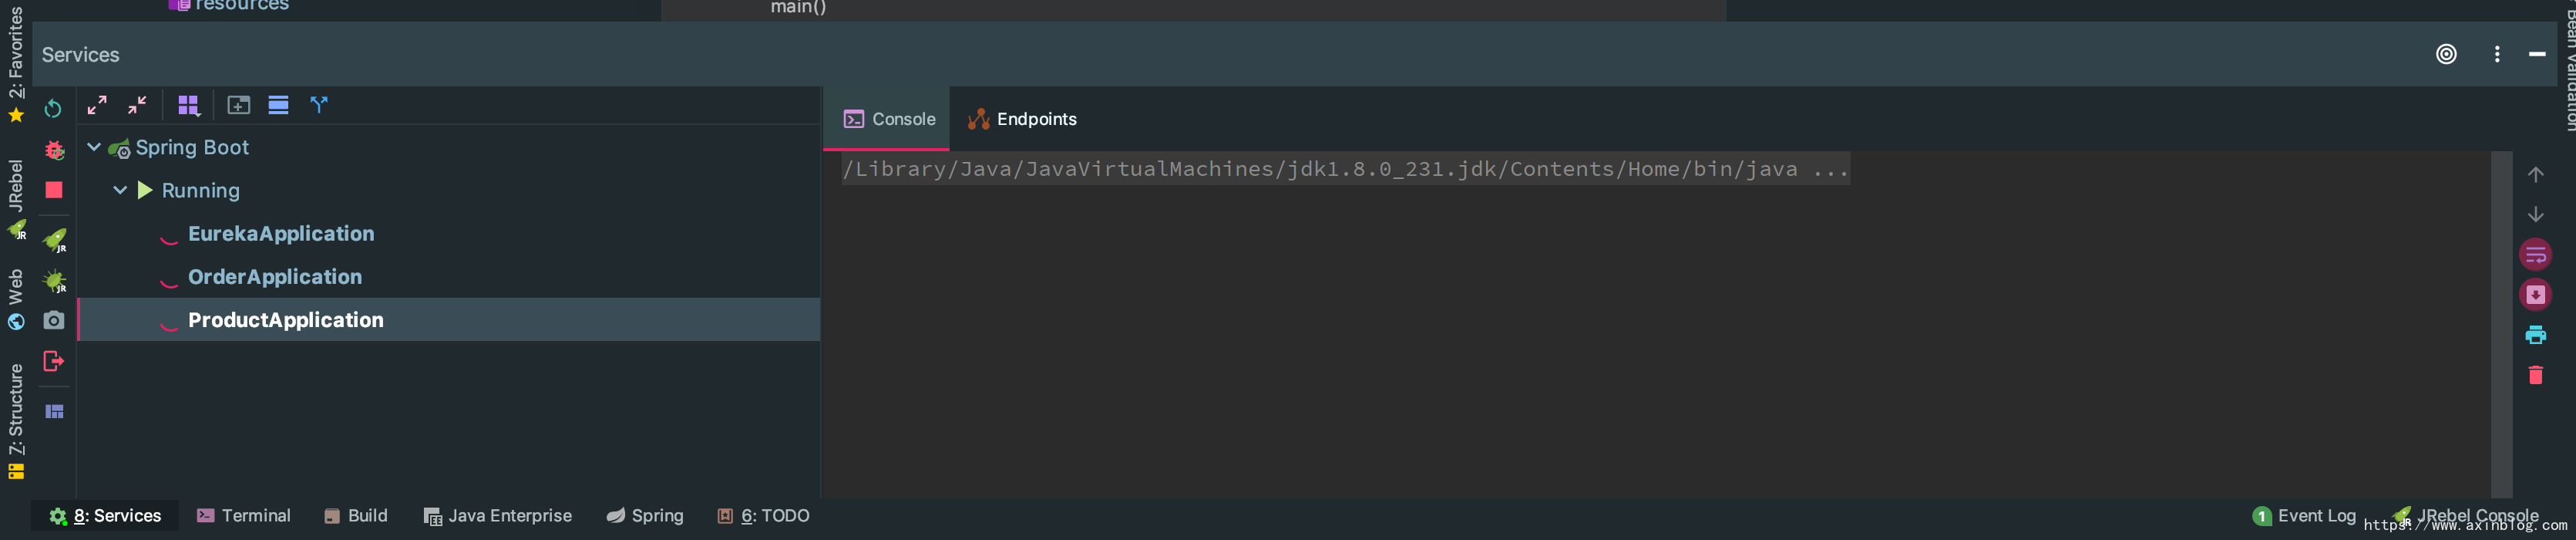
启动Product与Order微服务时记得加上—spring.profiles.active=dev

否则会出现端口一直绑定8080端口的情况
启动微服务查看是否注册到Eureka注册中心
服务启动成功后访问:http://localhost:8081/
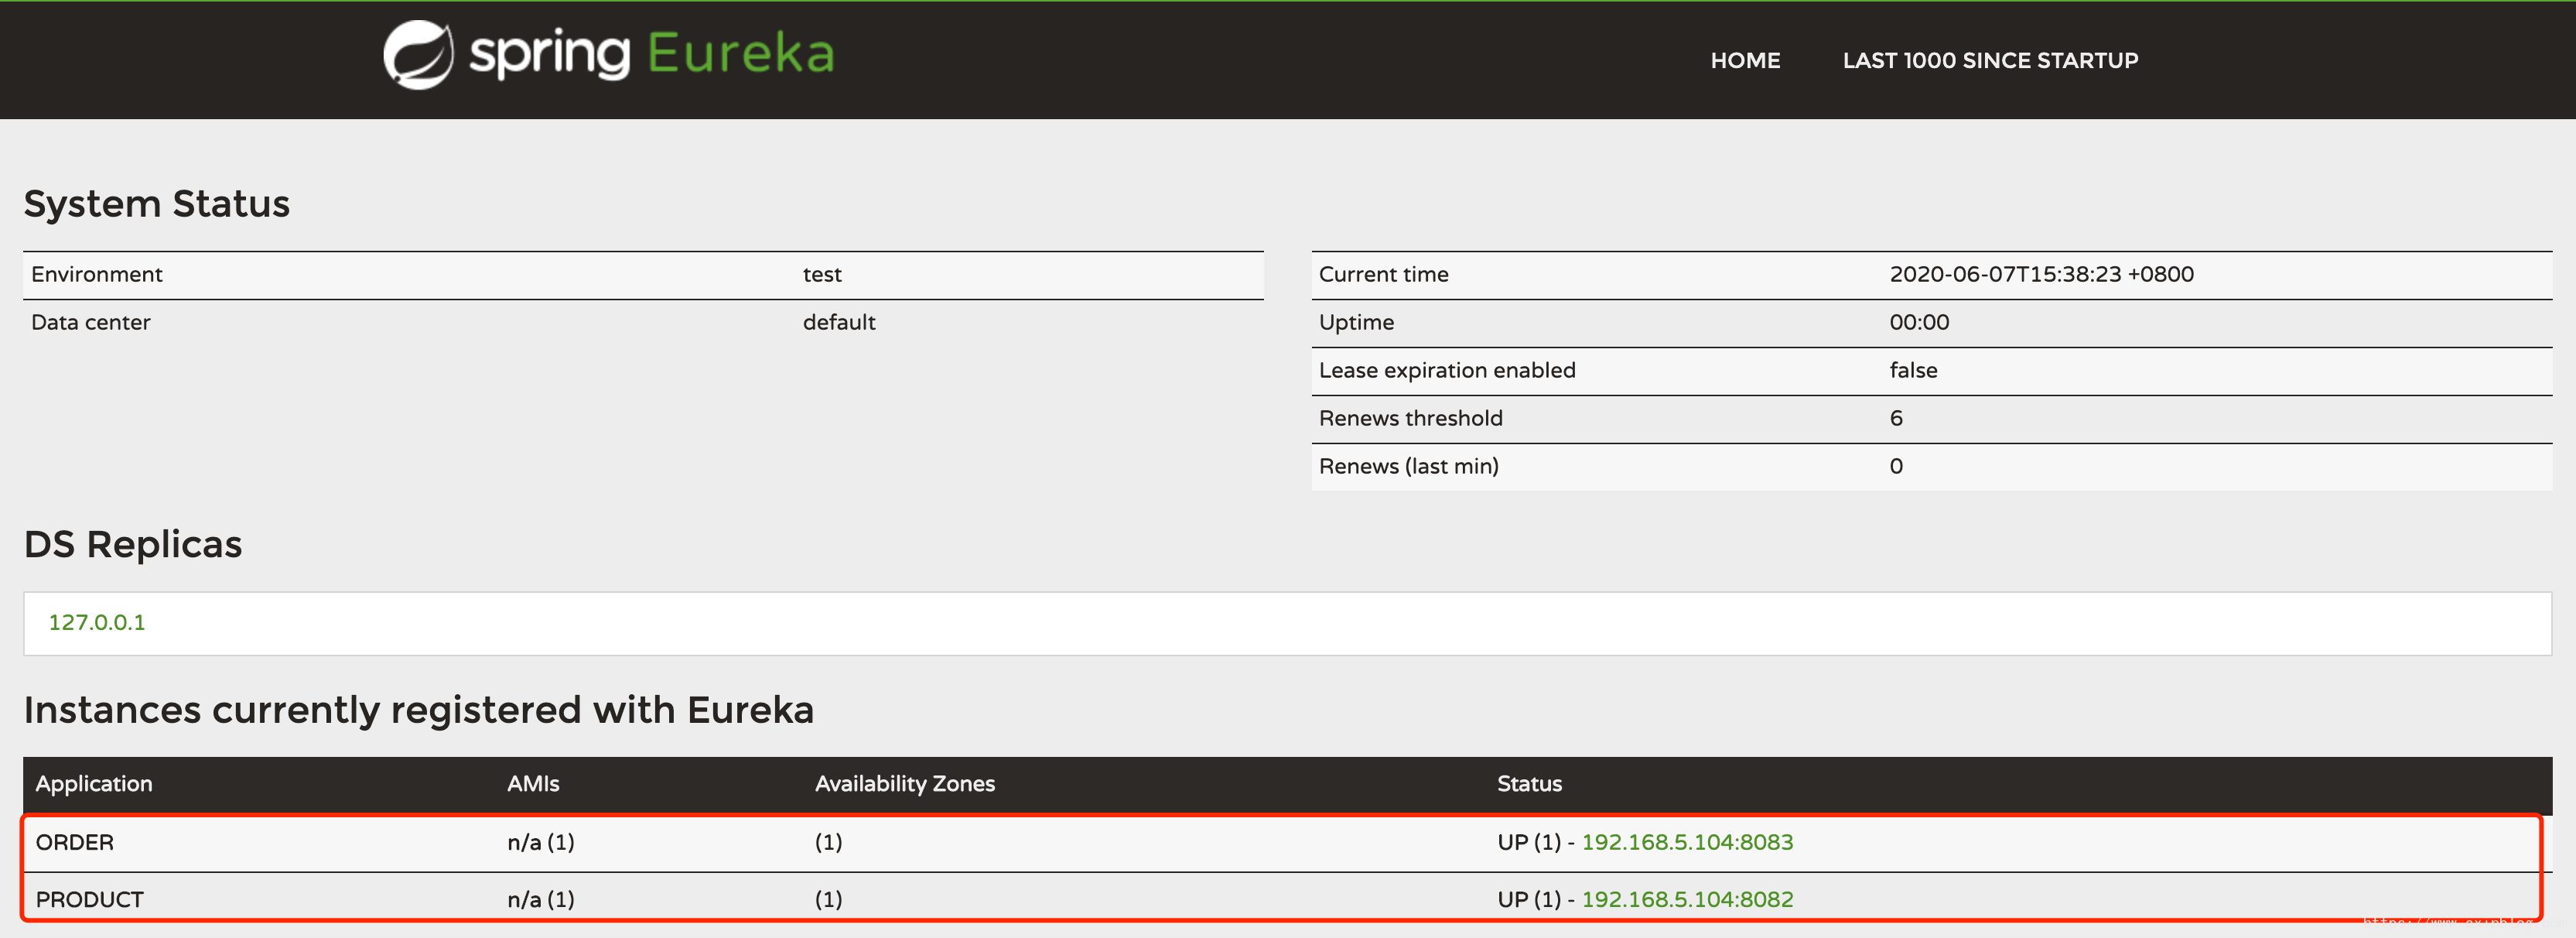
这样Product与Order都注册到Eureka中了。